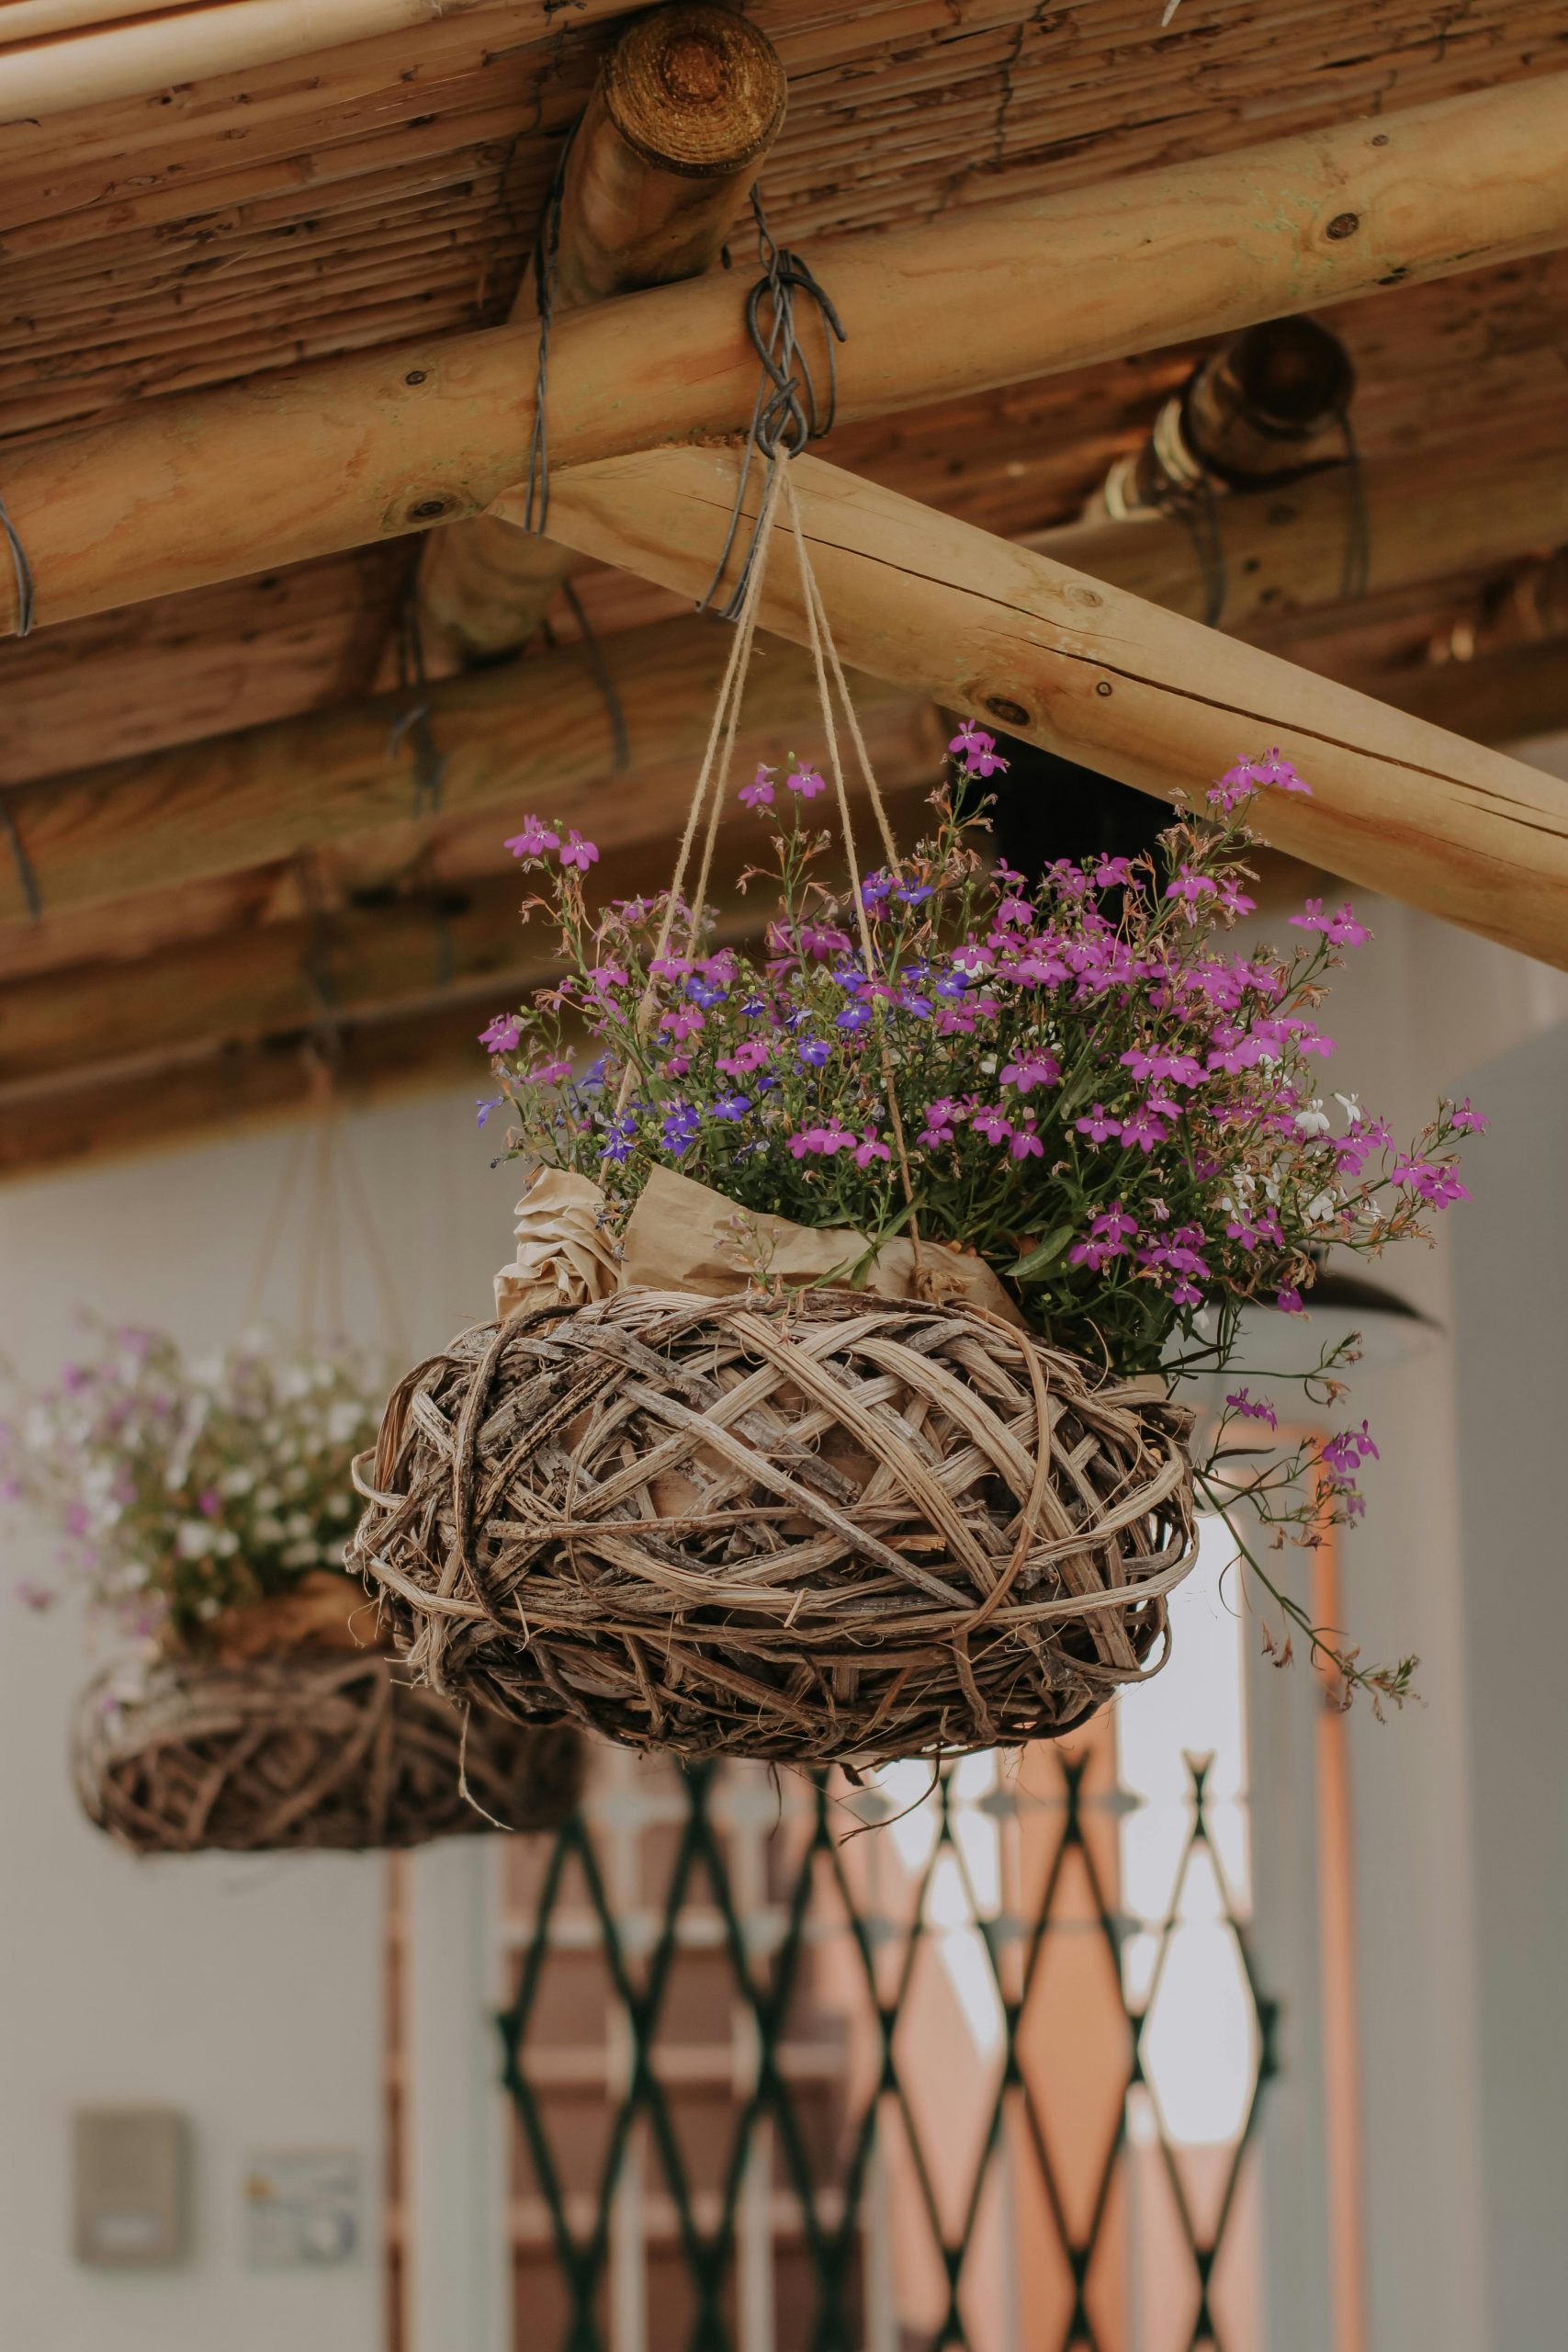
Blooms in winter! Get creative and plant winter hanging baskets to lift your spirits as the temperatures drop.
This fun and easy DIY winter hanging basket is a great addition to your space and a great way to stay busy indoors.
Fill your home with DIY hanging baskets filled with flowers.
Here are some helpful steps:
Choose the appropriate size hanging basket depending on the number of plants you want to grow. You will need a drainage hole and a hook or chain for hanging. Choose winter annuals with similar light and water requirements to plant in the same container. Pansies, violas, lobelias, etc. are recommended for winter hanging baskets. Fill the basket with good quality potting soil, leaving enough space for the plant at the top. Press down gently to remove air pockets.

Image credit: Pexels
4. Before you start planting, determine your planting location. Proper preparation will ensure each plant has enough space over time. Start with the largest or tallest plant in the center and work your way outward. This is your chance to get creative and come up with unique designs and arrangements.
5. While loosening the roots, make a hole in the soil and carefully plant. Plant at the same depth that the plant was in its original container.
6. Water the basket thoroughly and add slow-release fertilizer according to package instructions. Continue to water and fertilize as needed throughout the winter.
7. Once you have planted your basket, hang it in a suitable location that will provide the right amount of light to your chosen plants.
Tip: If you're looking for winter-friendly annuals for beds rather than baskets, try snapdragons.
See also:
Decorating guide: Decorate with plants
Featured image: Pexels
A version of this article originally appeared in Garden&Home Magazine.

